The super easy Filipino rice cake I can’t stop making (It’s my Pinoy son’s favorite)
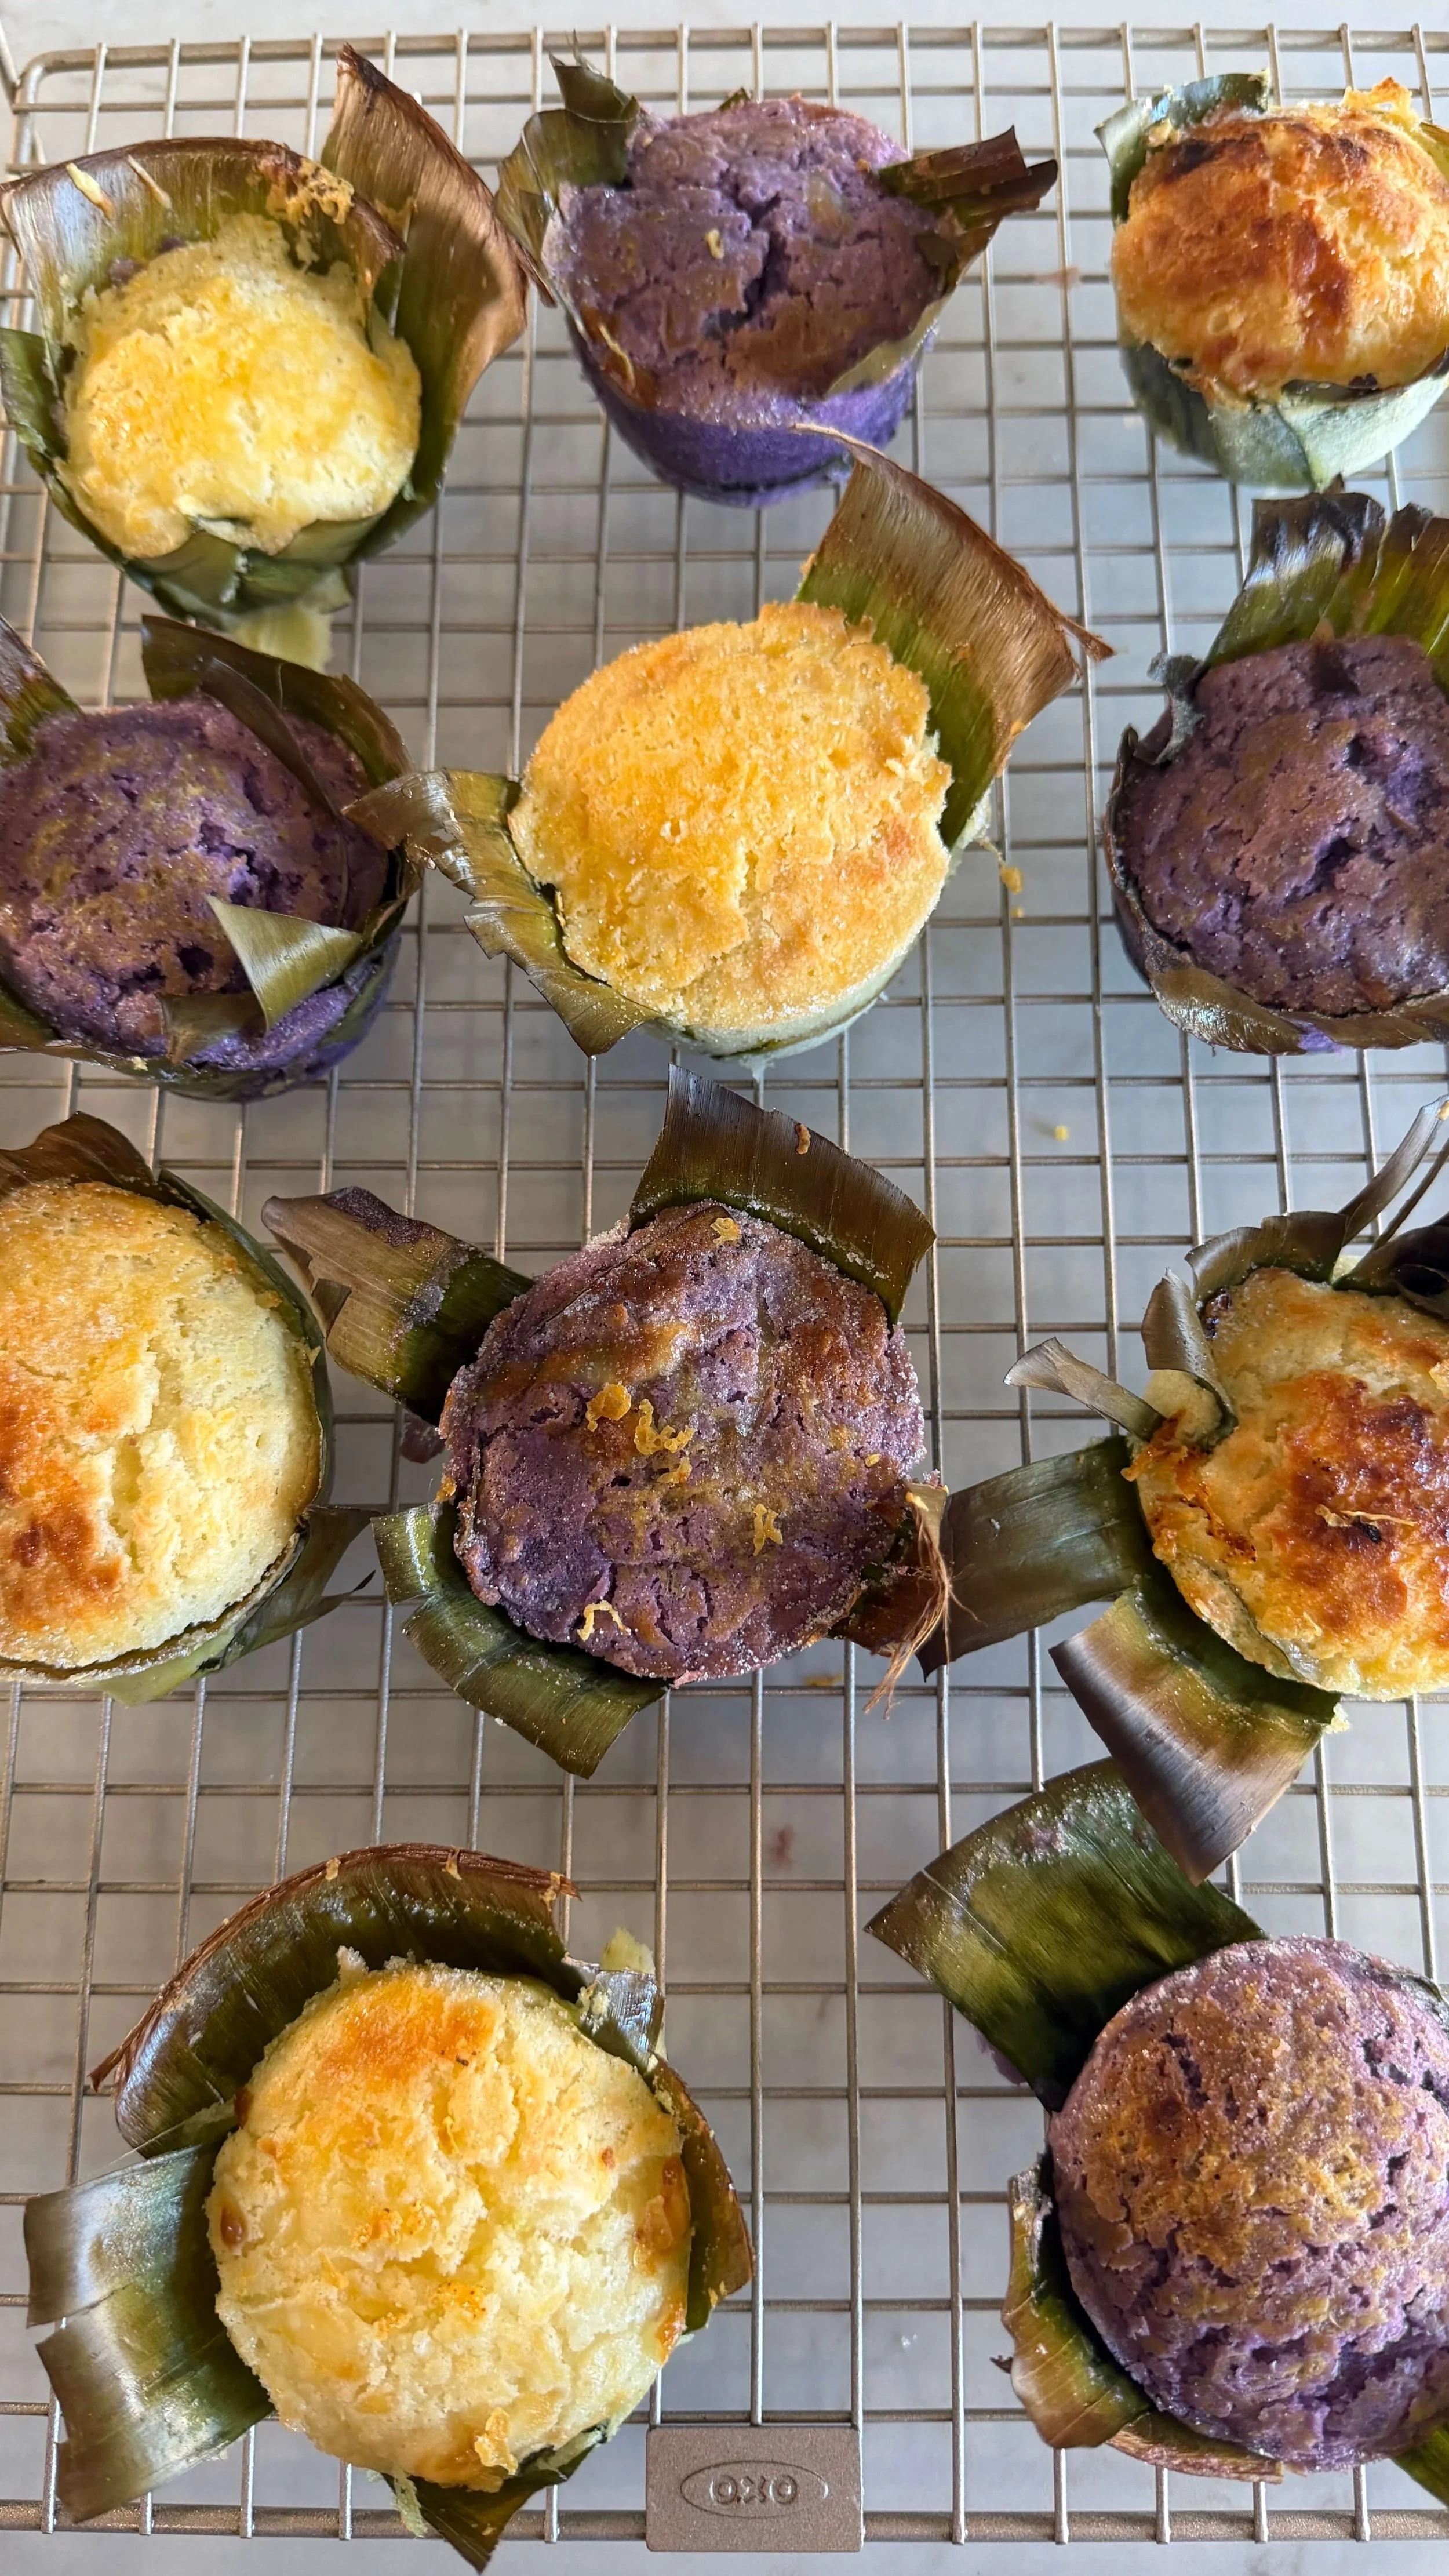
Kat Lieu’s bibingka on wire rack
dear friend,
Jake (my Pinoy husband) and I were dating at Southcenter Mall in Tukwila, and he bought me bibingka to try. It’s a dish I wish I had last year when we visited Bacolod. We ate so many things, including balut, but we just neglected to have bibingka. One bite and I was hooked. I knew I had to try making the recipe at home. I gave myself that challenge, and the next day I succeeded in my kitchen!
Bibingka is one of those desserts that feels like a hug from Southeast Asia. Traditionally, it’s a Filipino coconut rice cake baked in clay pots lined with banana leaves, with hot coals beneath and above. See, it’s the kind of thing you smell outside churches during Simbang Gabi at Christmas in the Philippines.
The name likely traces back to older Austronesian rice cakes, shaped over time by trade across Malaysia and the Philippines. Like so many Filipino dishes, bibingka carries layers of migration, adaptation, and resourcefulness. When my mother tried my version, she said it reminded her of fat goh (or Fa Gao, 發糕, Chinese Prosperity Cake), a steamed cake made with yeast. She loved how these are not too sweet, with a pop of savoriness thanks to the cheese.
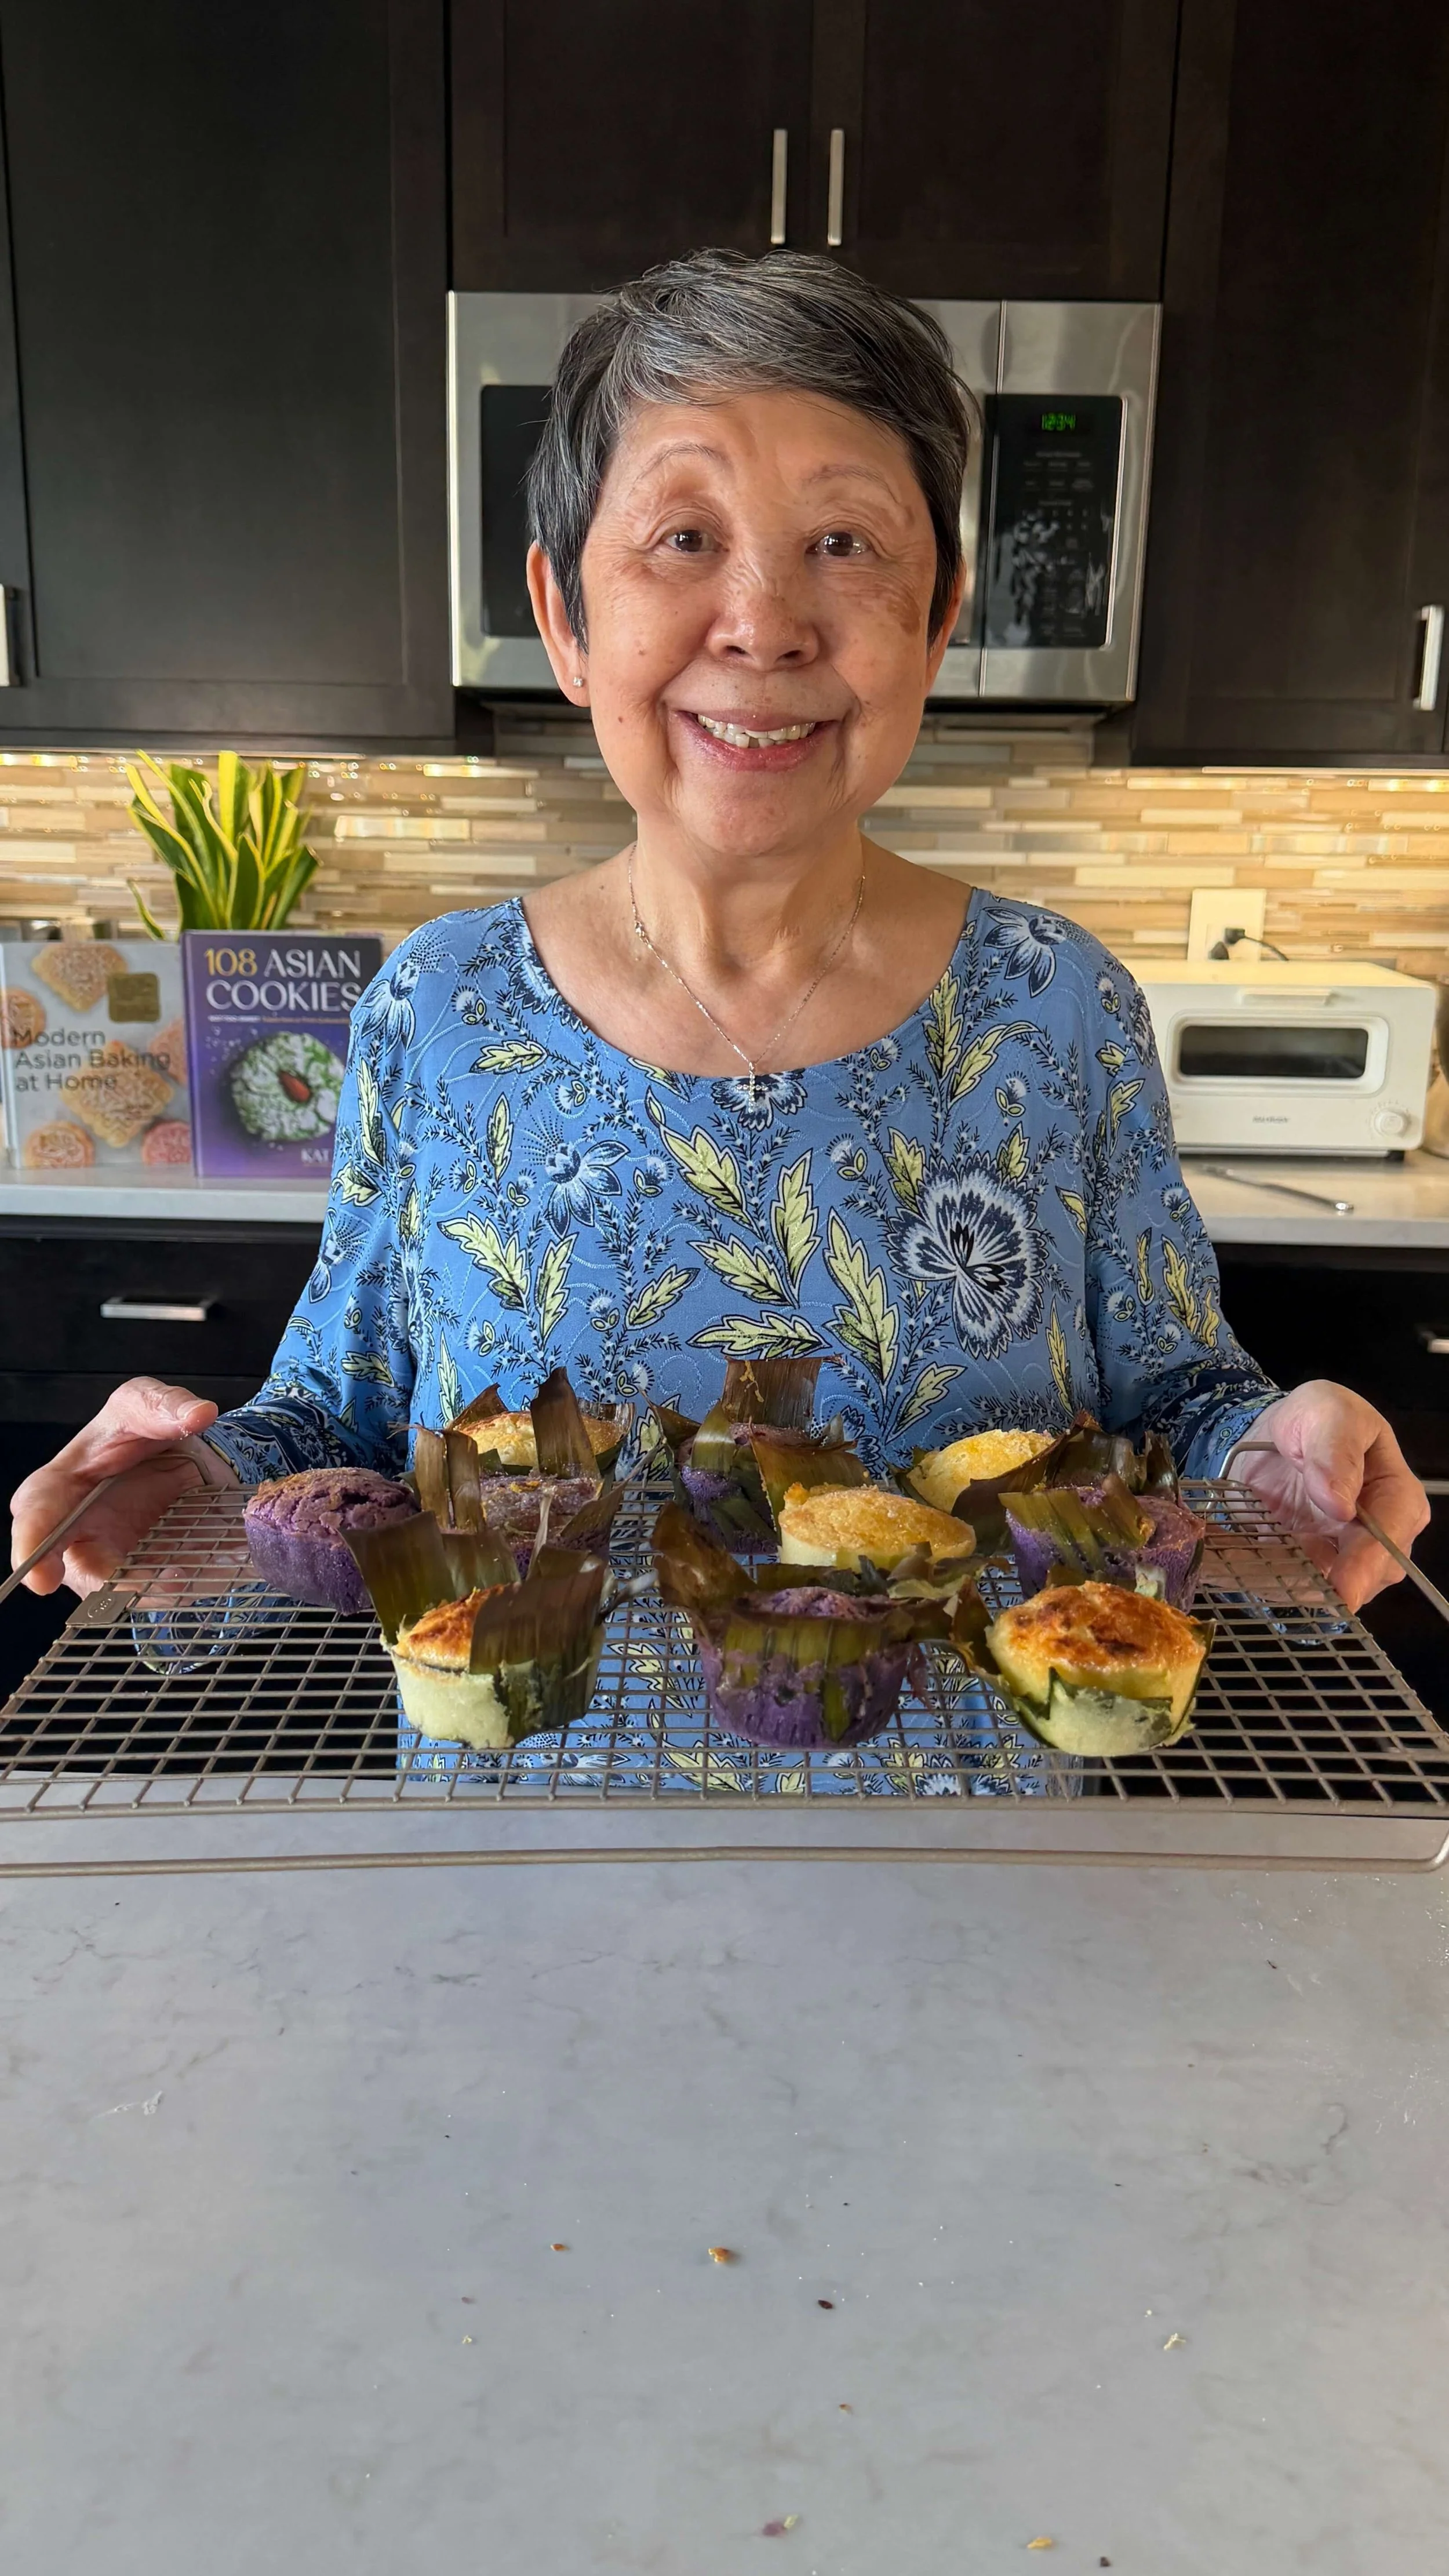
Mama Lieu happy to eat bibingka
My version of bibingka is modern, crafted in a third-culture kitchen. No clay pots here, but I made it my mission to seek out banana leaves so the flavor is as spot-on as possible. If you use banana leaves, you’ll get that unmistakable aroma that makes it taste like it came from a Filipino bakery. If you don’t have them, parchment works; there’s no shame here.
A good bibingka is fluffy and slightly bouncy. It’s not quite mochi, but with that tender chew that makes you pause mid-bite. Coconut milk keeps it rich. A touch of miso deepens the flavor without screaming “miso.” And the cheese on top? Salty-sweet magic. I love chewy treats, so I added tapioca starch.
So why exactly is this version the best and easiest version? Here’s why:
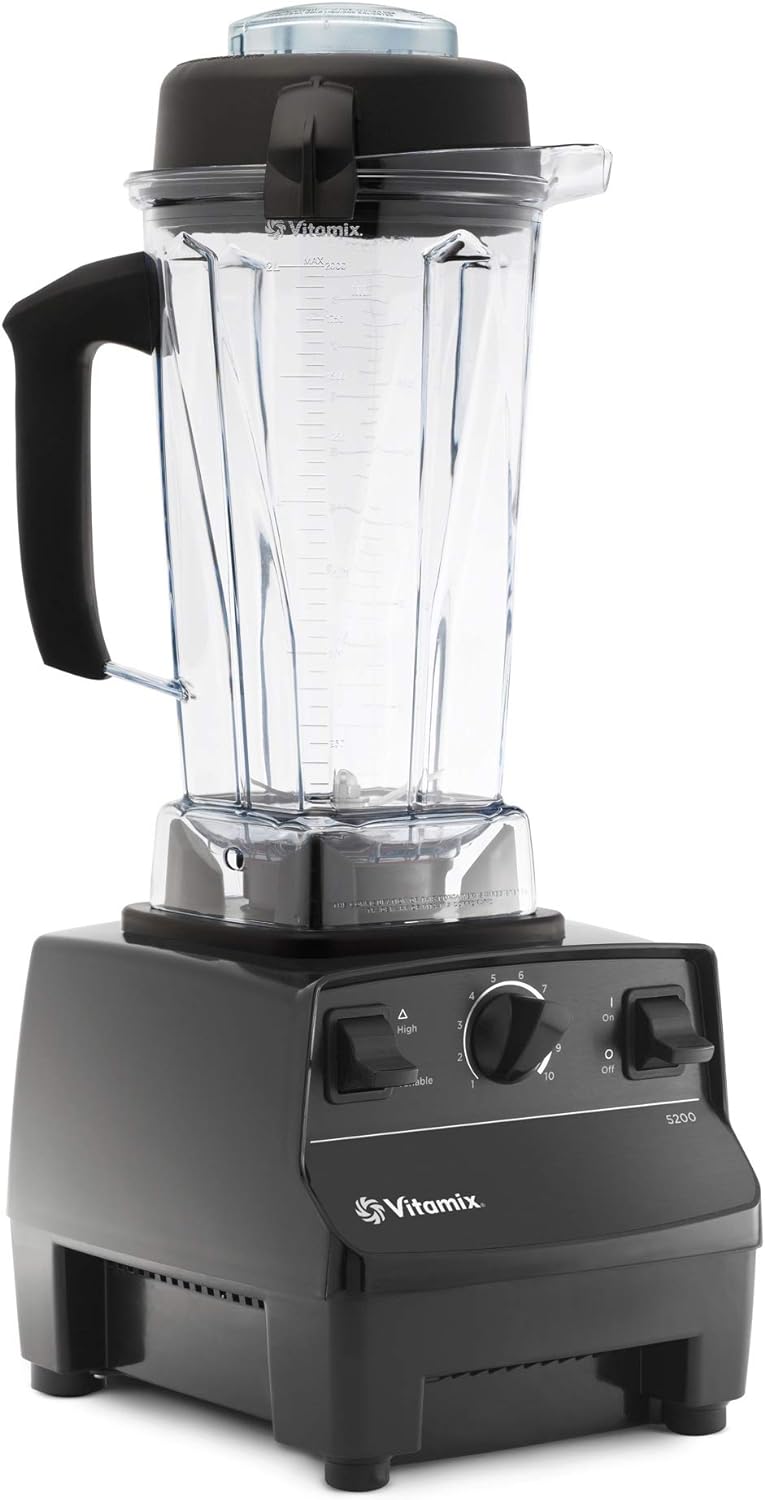
You throw almost everything into a blender.
No creaming butter. Just melting it.
No complicated techniques.
No clay pots or live fire.
Ready in about 30 minutes.
Variations
1. Classic Salted Egg Version
Add slices of salted egg (itlog na maalat) on top before baking for a more traditional bakery-style bibingka.
2. All-Cheese Bakery Style
Use a mix of cheddar and mozzarella for a stretchier top. Parmesan adds sharpness. Choose your chaos.
3. Ube Swirl
Instead of dividing the batter, swirl ube extract through it for a marbled effect.
4. No Mochiko?
If you don’t have glutinous rice flour, replace it with more regular rice flour — texture will be slightly less chewy but still tender.
5. Extra Coconutty
Stir in 1 to 2 tablespoons of desiccated coconut for added texture. Macupuno strings work too.
6. Breakfast Bibingka
Serve warm with salted butter and strong coffee. Trust me.
In many parts of the Philippines, bibingka is still cooked the old-school way. In areas like Negros, muscovado sugar adds depth and color, while other regions may lean lighter and sweeter. Toppings vary by province, from queso de bola and salted egg to grated young coconut, and vendors often finish each cake with melted butter that seeps into the warm crumb. The result is less like a cupcake and more like a tender, fragrant rice cake meant to be eaten warm, often right out of its banana leaf wrapping.
I hope you try my version! My Pinoy son and husband both love it! Masarap!
xoxoxo,
Kat Lieu

The best bibingka recipe made in a third-culture kitchen
These gluten-free treats called bibingka are a staple in the Philippines. They are very delicious and easy to whip up, especially if you have a blender. If you don't, whisk the dry ingredients first, then mix the wet ingredients, and finally combine them.
Bibingka is fluffy with a bouncy chew that's not quite mochi yet, like biting into a toothsome cloud! Enjoy for breakfast or as a snack.