This easy no-churn mango sticky rice ice cream tastes just like summer
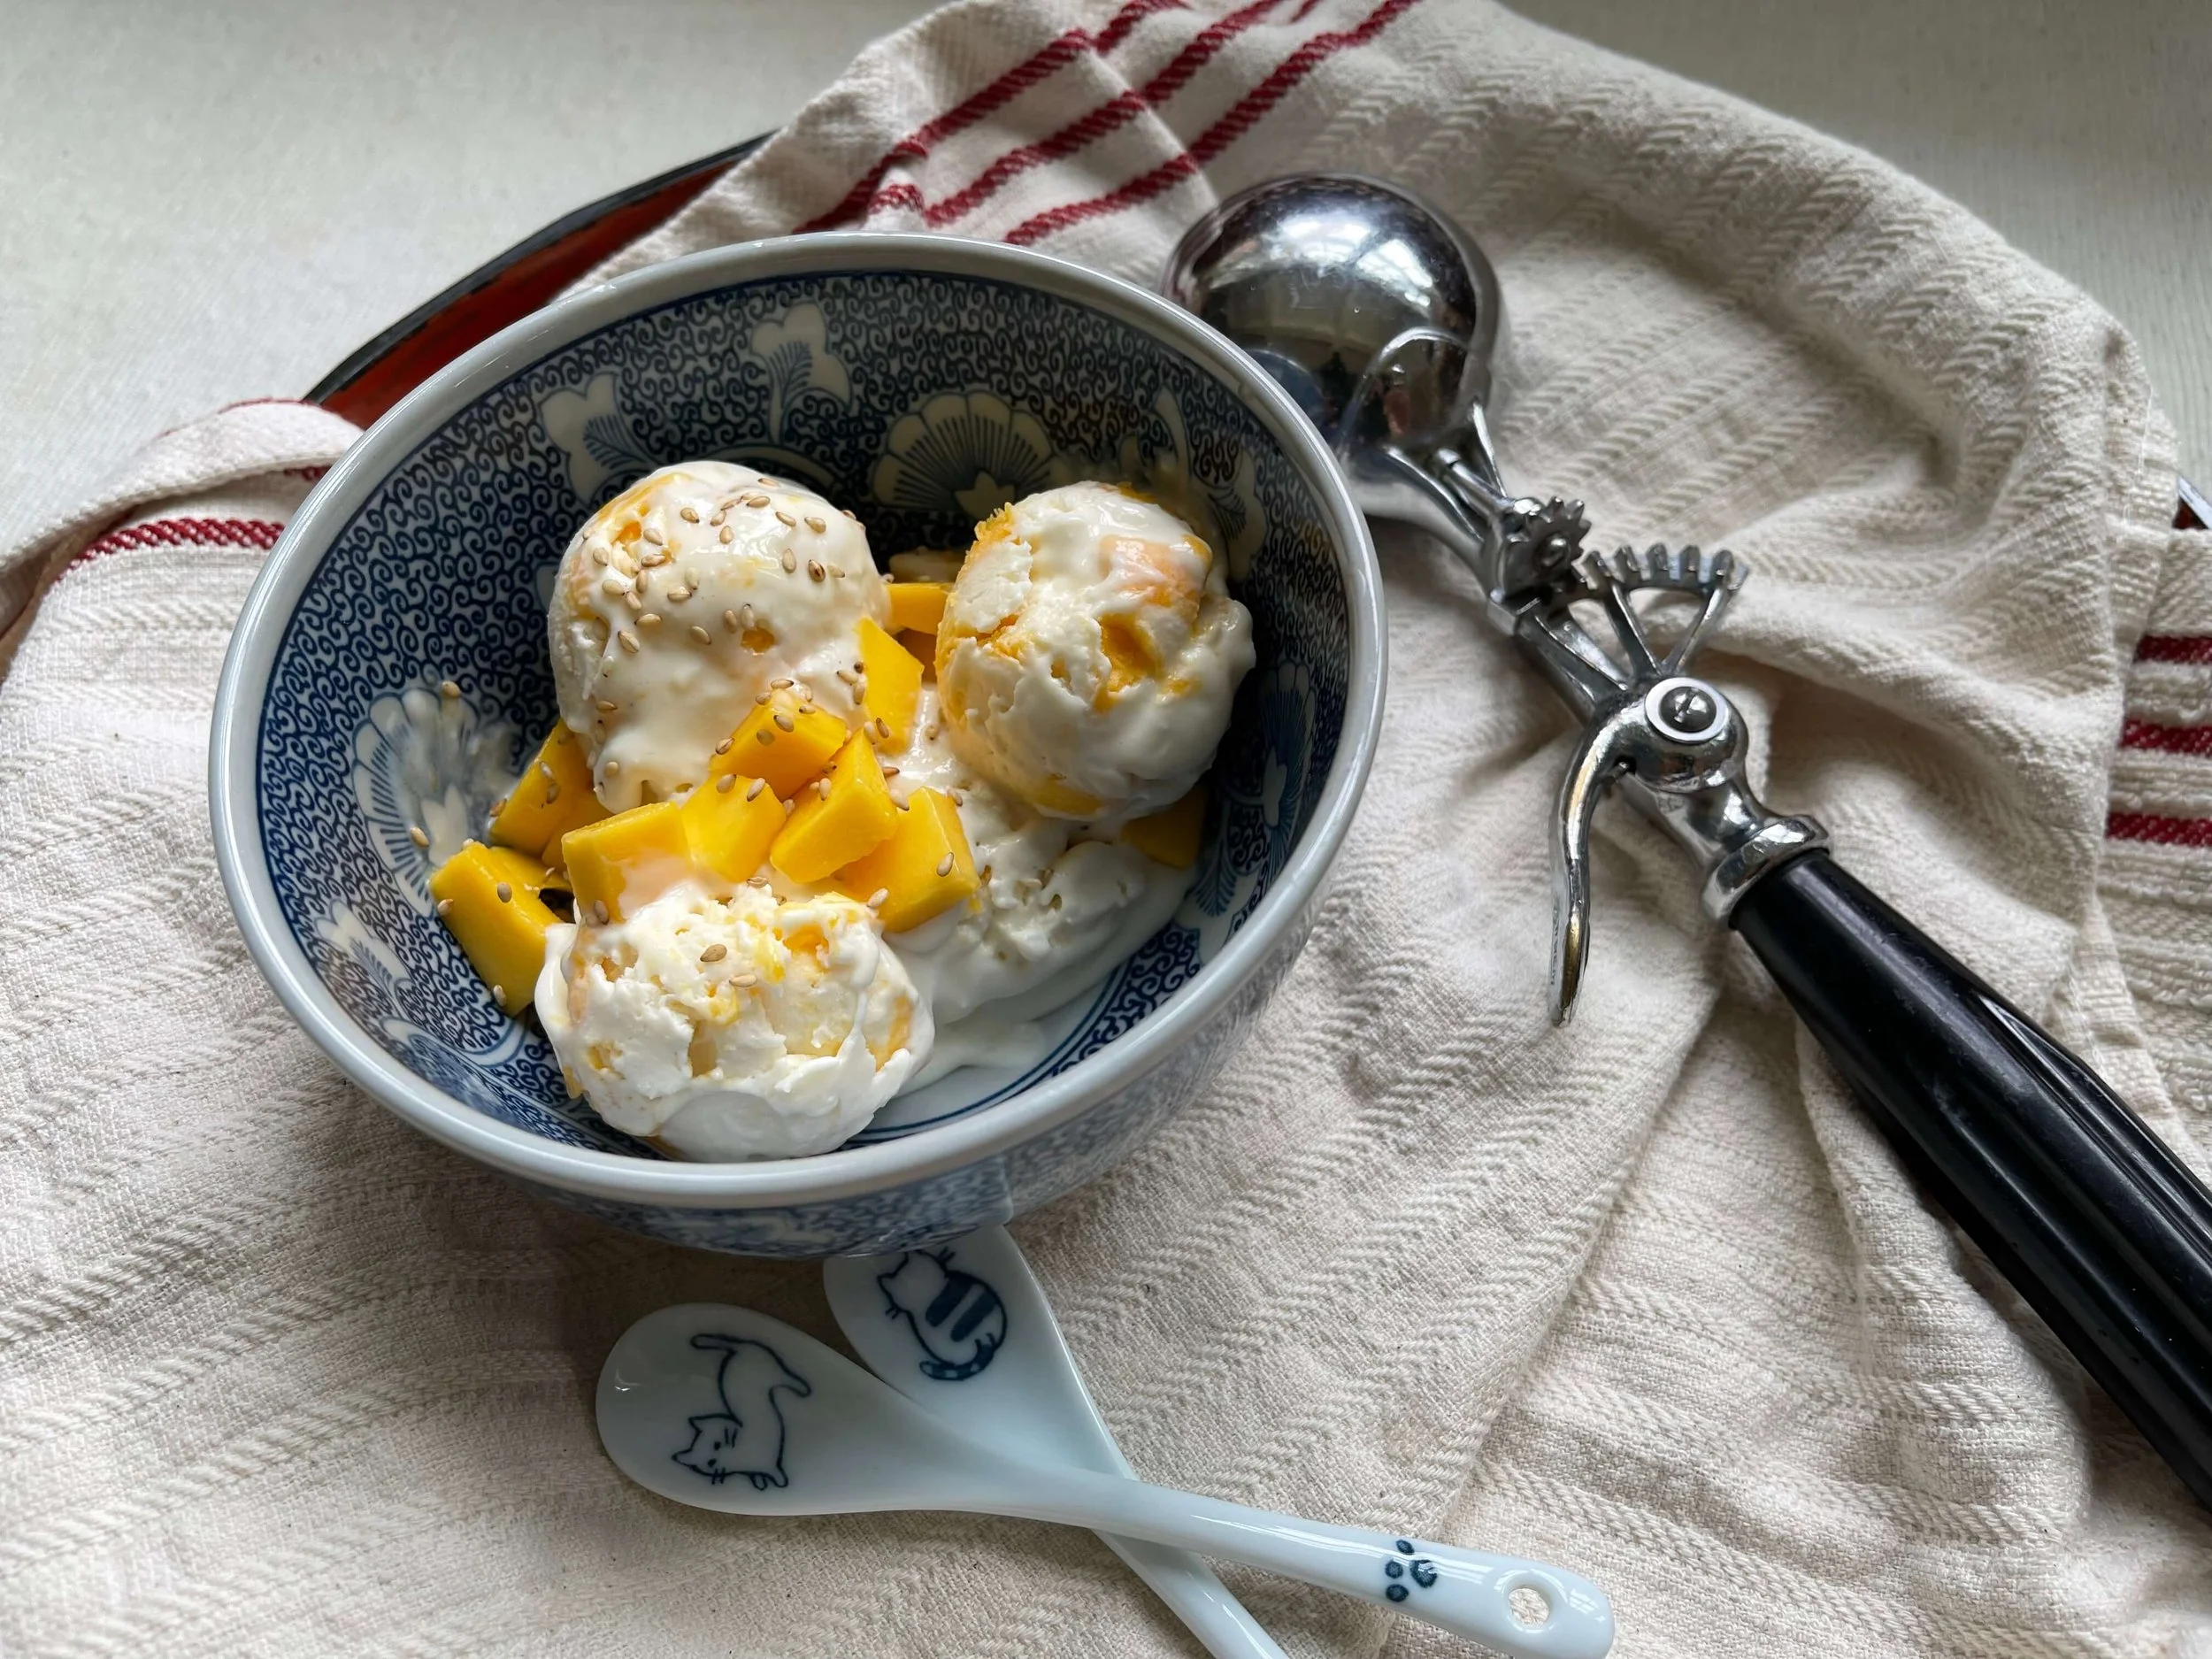
Mango sticky rice ice cream
Hey friends!
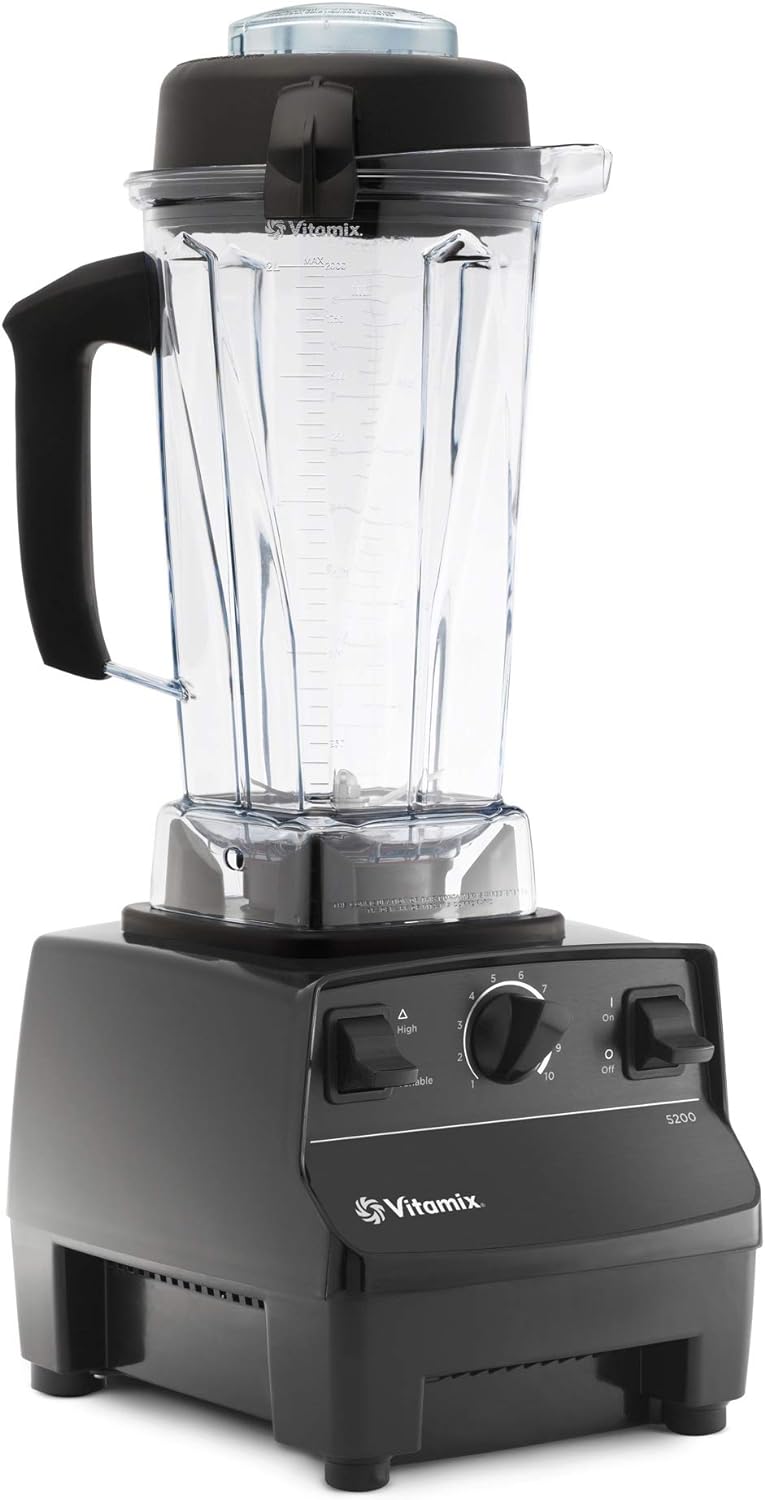
Did you know that it’s possible to make perfect ice cream without an ice cream machine? This recipe requires only a blender to create a delicious, creamy one-of-a-kind ice cream.
In developing this recipe, my goal was to create an easy, no-churn ice cream that you could whip up without special equipment or a trip to a specialty store. You’ll only need your blender and ingredients that can be found in any major supermarket. I wanted to put all of the flavors of the famous Thai dessert, mango sticky rice or khao niao mamuang, into a delicious ice cream that highlights the irresistible flavors of mango and coconut. My friends and family were eager tasters and recipe testers. They all agreed that this ice cream is exactly how they would want it to taste as an ice cream.
Glutinous rice is often labeled “sweet rice” even though it is neither sweet nor does it have gluten, making this a gluten-free ice cream. Warming the cooked rice with the coconut milk softens the rice and aids in blending the rice into a smooth, silky purée. Any very ripe, fresh mango will work, but I prefer the small, yellow Ataulfo or honey mangos for their rich sweetness and beautiful color. To enhance the mango flavor, my husband and a friend suggested adding mango puree. You’ll love those beautiful swirls of mango puree that taste like summer in each scoop. Remember to make the ice cream a day before you’ll serve it because it needs time to chill in the freezer.
It will keep up to a month in the freezer but I doubt it will last that long!
Happy cooking and eating,
Laura McCarthy
Recipes You’ll Love To Try Next
If you love this mango sticky rice inspired recipe, then try making the actual dish with this Thai Mango Sticky Rice with Butterfly Pea Flower and Miso Coconut Cream Recipe. Or you can make BOTH!!!
Enjoy! :)
Sharon Hsu @sparklecakerie

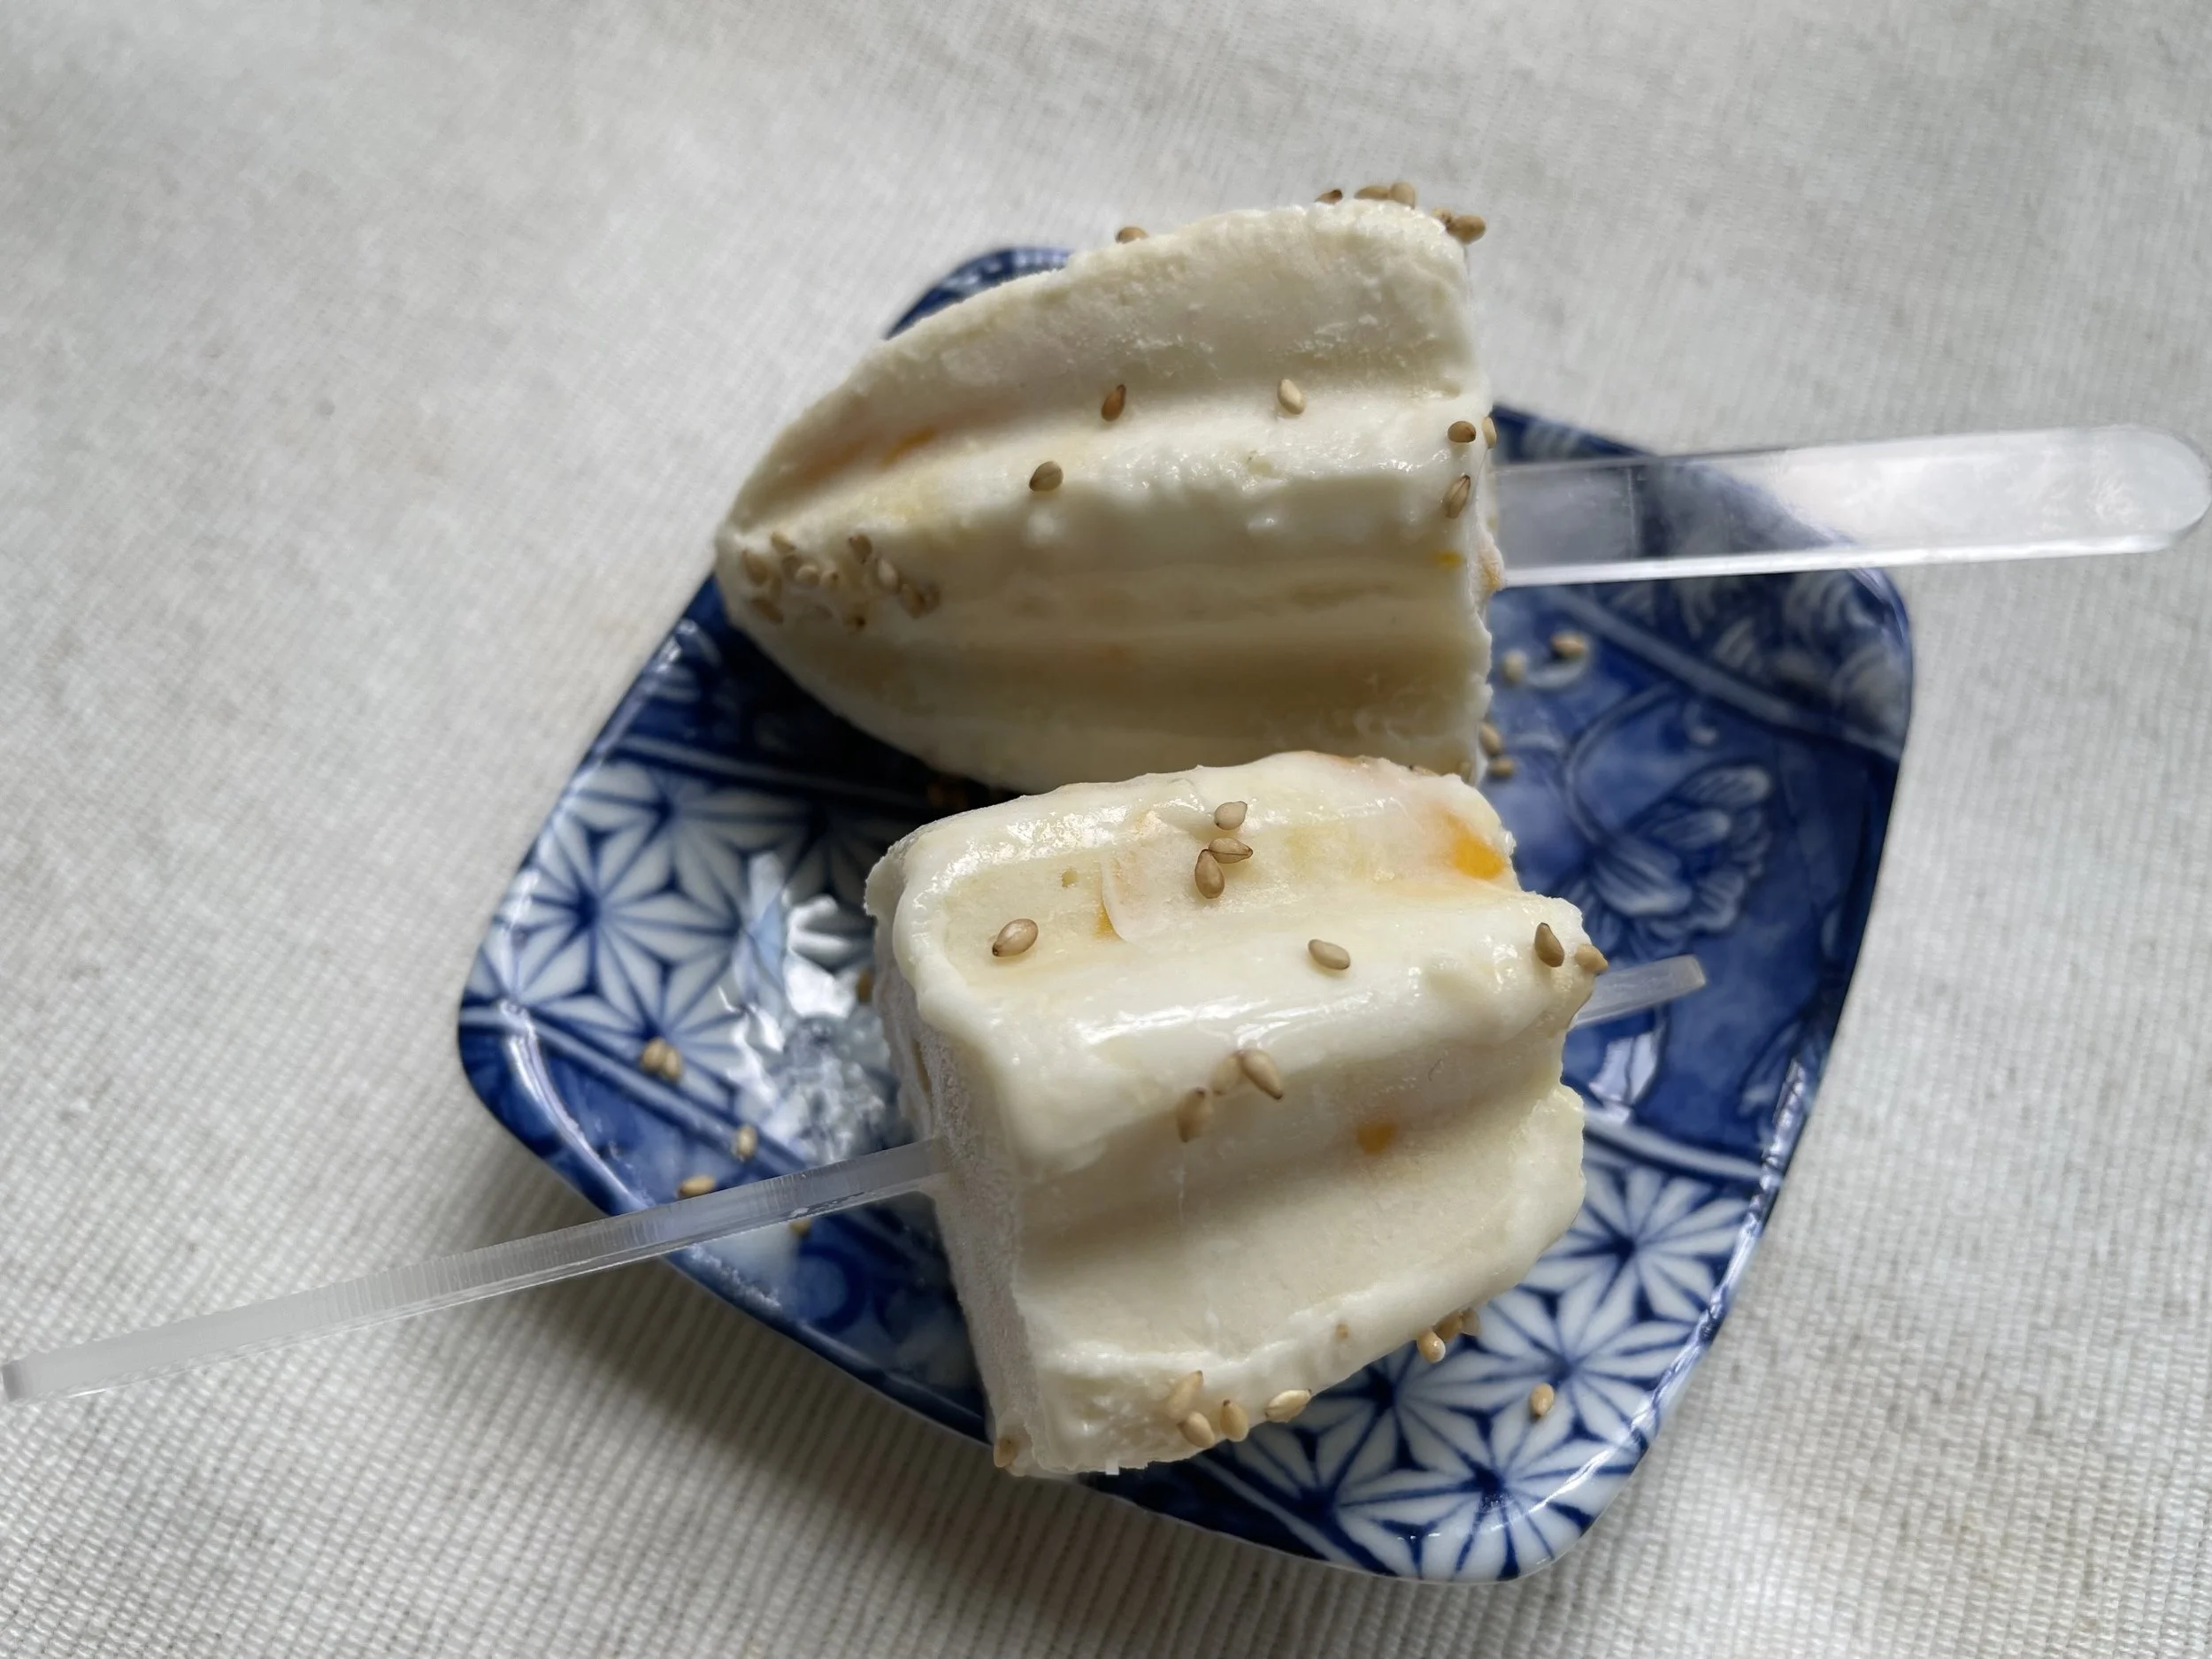
Make mango sticky rice ice cream popsicles, see the notes below

No Churn Mango Sticky Rice Ice Cream Recipe
This no-churn ice cream captures all the creamy, dreamy magic of Thailand’s beloved mango sticky rice dessert. The best part? No churning and no ice cream maker required! Blended with coconut milk, cooked glutinous rice, and swirls of fresh mango purée, each scoop is bursting with tropical flavor and silky texture. It’s gluten-free, easy to make with pantry-friendly ingredients, and so rich and nostalgic you’ll swear it came from your favorite Thai restaurant.
Ingredients
Instructions
Notes
- You will need a high-power blender with at least 8 cups capacity to make the full ice cream recipe.
- Brands such as Rani canned mango puree can be found online.
- The addition of the guar gum will make this no-churn ice cream creamier and easier to scoop, much like commercial ice cream which can be scooped almost immediately after removing from the freezer. Guar gum can be found online or sold in the gluten-free section of major grocery stores. I used Bob’s Red Mill brand.
- If the rice and coconut milk mixture isn’t completely smooth after blending, then strain the mixture through a fine sieve into a bowl and blend the rice remnants again with a bit of the strained rice and coconut milk mixture until smooth with no visible pieces of rice. Proceed as directed with the recipe.
- For an even more pronounced coconut flavor, I recommend using the coconut extract. Coconut extract can be found in the baking section of major supermarkets.
- I prefer using a 9x5-inch Pyrex loaf pan, but any 9x5-inch loaf pan will work. If you don’t have a loaf pan, use an 8-inch square baking pan.
TO MAKE POPSICLES:
- After mixing in the diced mango and shredded coconut, spoon out and fill popsicle holders ⅔ full with the ice cream mixture. Dollop some mango purée on top of each popsicle and swirl in the purée using a chopstick or small fork. Insert popsicle sticks and freeze.
- If you don’t have popsicle holders, you can easily make your own using small plastic or paper cups with a disposable spoon or fork inserted as a makeshift popsicle stick. Follow


About the recipe developer: Laura McCarthy is a highly experienced cookbook recipe tester for several well-known authors and blogs such as Kat Lieu, Andrea Nguyen, The Woks of Life, Alexandra Stafford, and Patricia Tanumihardja to name a few. She was a Julia Child Foundation teaching assistant and a student in Boston University’s Gastronomy Program, founded by Jacques Pepin and Julia Child, earning her Certificate in Culinary Arts. Laura has lived, traveled and eaten all over the world and is constantly thinking about her next meal. Find her on Instagram @lauramcc88.